Thursday, December 6, 2012

There is a difference between 'i.e.' and 'e.g.'

I'm in the computer lab at school typing up a document when, for the first time ever, I find myself in a situation where I need to use 'i.e.' or 'e.g.' I'm not really an 'i.e.' or 'e.g.' person which is mostly because I had no idea what the difference between them is and I do not want to use them wrong and look stupid.

But it was extremely appropriate to use them in this situation and there was no substitute. So I looked it up.

Both are abbreviations for Latin terms. According to quickanddirtytips.com, i.e stands for id est which means 'that is,' and e.g. stands for exempli gratia which means 'for example.'

You might be thinking to yourself that they mean pretty much the same thing and can probably be used interchangeably. No. There's a difference. Refer to the following trick from quickanddirtytips.com:
Forget about i.e. standing for "that is" or whatever it really means in Latin. From now on, i.e., which starts with i, means “in other words,” and e.g., which starts with e, means “for example.” I = in other words. E= example.
E.g. is used to introduce examples and i.e. is used for further clarification.

FOR EXAMPLE:
I like sugary foods (e.g., cookies, pie and cake).
I hate almost all fruit with only a few exceptions (i.e., apples, bananas and watermelon).

My sugary foods list is not comprehensive, I like many more sugary foods in addition to cookies, pie and cake (examples). My fruit list is all inclusive. The only fruits I like are apples, bananas and watermelon (further clarification).

Also, AP style calls for a comma after the last period in both e.g. and i.e.

If you can't use them right, don't use them at all!

When painting, invest in the slightly more expensive paint.

I've recently gotten into crafting the things I see on Pinterest. There's some really cool stuff on there and it's so much more fun than doing homework or studying. Someone pinned a picture for instructions on how to make photo canvases, where you basically Mod-Podge photos onto canvases. They looked super cool and relatively easy, and since I recently moved in my walls were pretty bare, so it was perfect!

How to make them:
  1. Unless your picture is as big as or bigger than your canvas you need to paint the borders in whatever color you think is appropriate.
  2. Cut up scrapbook paper and Mod-Podge it to the side edges of the photo canvas. This gives it a more 3D frame look.
  3. Mod-Podge (matte, not glossy) the photo onto the the canvas and paint several layers of Mod-Podge over the photo on the canvas to make it look like it's actually printed on the canvas.

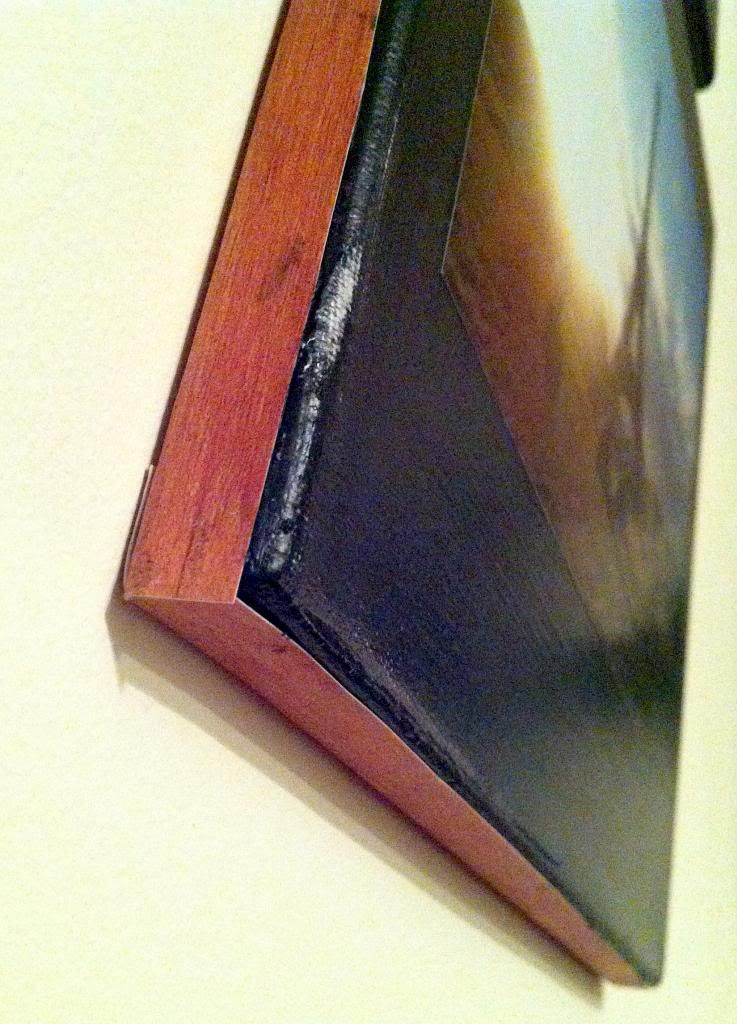
For these photos, as you can see, I used black paint for the border. I spent awhile at the store staring at all the different types of paint I could use for this project before finally settling on the super cheap $2 bottle. It was definitely not worth it because I ended up having to paint like five layers to make the border look solid black. It took several days because I had to wait for each coat to fully dry and it was super annoying.

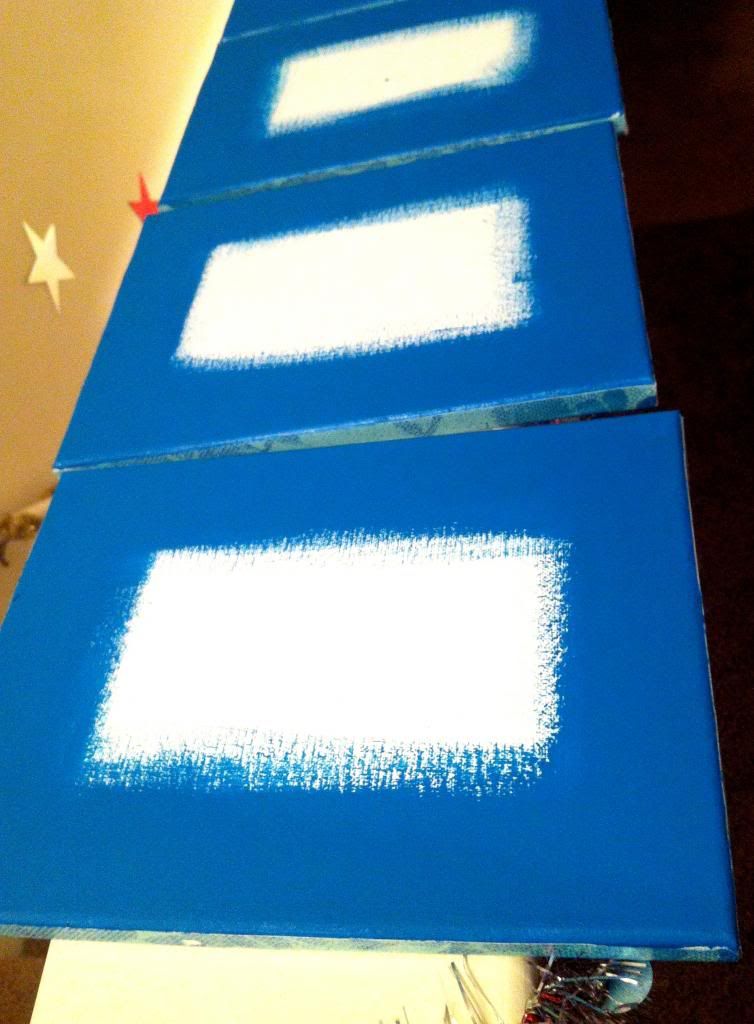
I'm making another set of these with my mom's pictures from Hawaii for her birthday. I switched it up from a black border to a pretty turquoise border, so I had to get more paint. This time I went for the slightly more expensive acrylic paint, and I only had to do two coats. It took approximately 20 minutes to finish up all of them and it looked great. This acrylic paint was only a few dollars more expensive, so I'd say it was worth it.

Note: The photo will cover most of the canvas so it isn't necessary to paint the entire canvas.
I used pretty turquoise scrapbook paper to match and I'm waiting for it to fully dry before I Mod-Podge the photos on!


Monday, December 3, 2012

The dentist is the epitome of evil.

This story goes way back to the year 2007. I was a sophomore in high school and I went to the dentist for my regularly scheduled teeth cleaning. Back then I still lived at home and my mother was able to force me to go to the dentist for these cleanings twice a year, as recommended. This particular appointment went great and they said my teeth looked fine and sent me on my way.

But then, two days later, I got a terrible toothache and had to go back. Turns out, I needed a root canal. Awesome. Thanks Dr. Dentist for catching that the first time around. I'm convinced he put something in my mouth and caused this to happen. They referred me over to Dr. Root Canal and he confirmed I was in need of a root canal. So he drills up my teeth and the whole thing was pretty miserable.

All was well until the end of this summer as I was saying my goodbyes to the wonderful city of London. I only had three days left of my fabulous study abroad experience and I got the worst toothache ever. At first I just thought it was a cavity, but then it got really bad and the pain consumed my every thought. My mom called the dentist who told her it was probably an infection, so my last day in London was spent in agony in the urgent care center as I waited for antibiotics.

To give you an idea of how much pain I was in, just think about the worst pain you've ever experienced and multiply that by 10. I'm surprised I didn't overdose on Excedrin. The pain meds I got from the London doctor helped, but it was still the worst pain I've ever experienced. Once I got back to the States I went to Dr. Dentist who confirmed this was an infection and referred me back to Dr. Root Canal.